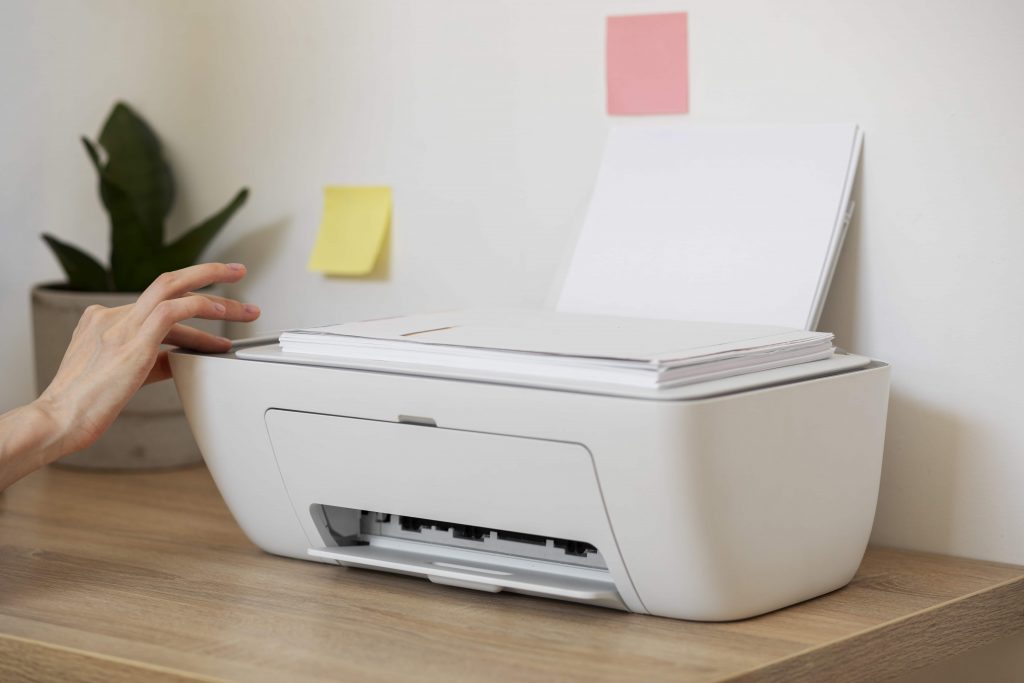
If you’re here, you might have a Canon printer and need help installing ink! Are we great detectives? This place is for you!
We’ve created a simple guide, “How to install ink in Canon printer,” with easy-to-follow pictures. Also, our special guests of this article are Canon 280/281XXL ink cartridges and all Canon 245XL/246 XL ink cartridges too!
Let’s dive into the step-by-step instructions!
General suggestions for all models:
- Be careful not to touch the chip or ink port to avoid clogs, ink failure, or poor electrical connections.
- Don’t use cartridges from different suppliers at the same time, as it may cause recognition issues with the printer.
- If your printer was last used a while ago, we advise running the printhead cleaning cycle up to 3 times. It can help you remove any ink residue that might have accumulated. Follow the exact instructions in the printer manual.
Smart warning: Choose only high-quality ink from one producer to maximize your printer’s life!
Installing ink cartridges may be a bit different depending on the model. Just choose the one that fits your printer.
Find the steps of the cartridge installation that look similar to yours in the guides below! Go ahead!

How to put ink into Canon printer if it is compatible with cartridges, as shown below?
For Canon 280 281 Ink Cartridges:
- First, turn on the printer and open the cartridge access door.
Wait a moment until the carriage stops moving. It’ll only take a few seconds. - Next, remove the yellow tape from the cartridges.
- Make sure to keep the protective seal covering the ink port intact, don’t remove it.
- Match the label color with the color on the carriage. Then, place the cartridge into the corresponding slot.
- Remove the indicated cartridge from the carriage if the ink LED doesn’t light up. Gently bend the tab away from the cartridge, and put it back into the carriage.
Smart warning: Please refer to the FAQ section to resolve any problems regarding cartridges after their installation.
We’ve covered the main rules for Canon 280/281XXL ink cartridges.
Also, you can watch our video guide for more information.
Now, let’s move on to all Canon Printhead Ink cartridges!
How to change ink cartridge in Canon Pixma series printer if it is compatible with cartridges, as shown below?
For Canon 245XL/246 XL Ink Cartridges:
- Remember to turn on the printer and cartridge access door.
- Then take off the plastic protective cap from the ink cartridge.
- Use the pink pull tab to remove the protective tape.
Smart warning: Don’t remove the copper-colored contacts from the ink cartridge.
- Put the cartridge into the corresponding slot and push it forward until it locks safely in place.
- Make sure the color ink cartridge is installed in the left slot and the black ink cartridge – in the right one.
Moving forward, let’s discuss the three most typical issues that may happen during the installation of ink in Canon Pixma. We created more ease-following instructions for you.

“The ink cartridge cannot be recognized” – sometimes it happens because the ink cartridge may not be installed properly.
Solution №1
- Open the front cover and check if the ink cartridges’ red light is on. If the red light is off, the cartridges are not installed correctly.
- So, take out the cartridges one by one and close the printer. Then turn off the printer and wait for some time.
- After that, try to reinstall the cartridges one by one using our previous instructions.
- Next, close the front cover. Confirm that the orange protective cap is taken off from the bottom of the ink cartridges.
- At the end, press the resume or cancel button to start printing.
Solution №2
- Clean the ink cartridges and reset them.
- Turn off the printer and detach all the cables from the printer.
- Open the cover and take out the cartridges.
- Then clean it and reinstall it step-by-step with Smart Ink guides.
- Next, press and hold the reset button for 5 minutes. Now there will be a red light that starts to blink. It means the red light blinks when the connection between the printer and cartridges is perfect.
- After completing this process, press and hold the reset button for 5 seconds. You will notice a red-light blinking, indicating a successful connection between the printer and cartridges.
- Press and hold the reset button until the green light blinks. The resetting process is finished.
- Finally, take a test print to verify that the error is gone.
“Error Code C000” – if you see this issue, most likely it was caused because you didn’t remove packing materials from the device. It happens sometimes, and it’s so easy to solve. Here you go:
Solution №1
- Open the printer door and make sure that you removed protective tape and protective polystyrene from the printer.
- Try test printing after that to check if the problem is still persisting.
If you still have the error, it may be caused by a paper jam or other foreign obstruction in the paper feed path of a Canon printer.
Solution №2:
- Remove any foreign objects, such as paper clips and torn pieces of paper, from your printer.
- Next, completely clear the paper feed path of your printer.
- Reset your Canon device.
If the methods above don’t work, try this simple way.
Solution №3:
- Turn off your printer.
- Unplug it from the power outlet.
- Wait for 5 minutes.
- Plug it back in.
- Turn it on.
Bad initial print quality – happens when the printer is not cleaned or the inks are mixed with previous residues. We have a quick decision!
Solution №1:
- Select the setup icon on the display screen.
- Then, press “Maintenance” → “Cleaning,” and then → “Yes”.
- The printer will go through the cleaning process for 1-2 minutes.
- After the cleaning process is finished, your printer will prompt you to print the nozzle check pattern.
- Select “Yes,” and the printer will print out a nozzle check or diagnostics page.
- Should the nozzle check patterns appear full, the cleaning works, and you can continue using your printer. Rerun the cleaning function when you notice a faint or broken pattern.
Phew! Everything is sorted out!
Also, if you have another request, you can discover other helpful articles, videos, and guides on the Smart Ink blog! Our main goal is to make printing a breeze for you – smarter, easier, and hassle-free.
We understand that ink installation on Canon printers (Epson or HP) can be tricky. So, don’t hesitate to get in touch with our Support team.
We can help you with everything all day, all night!


