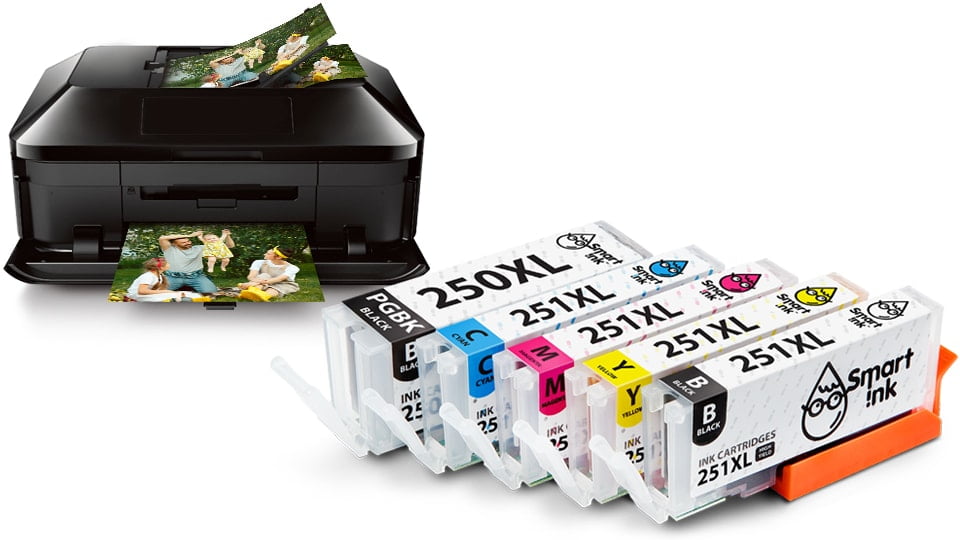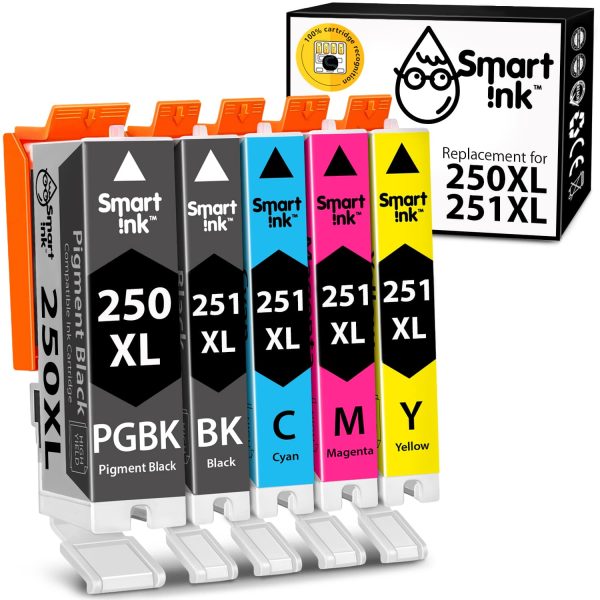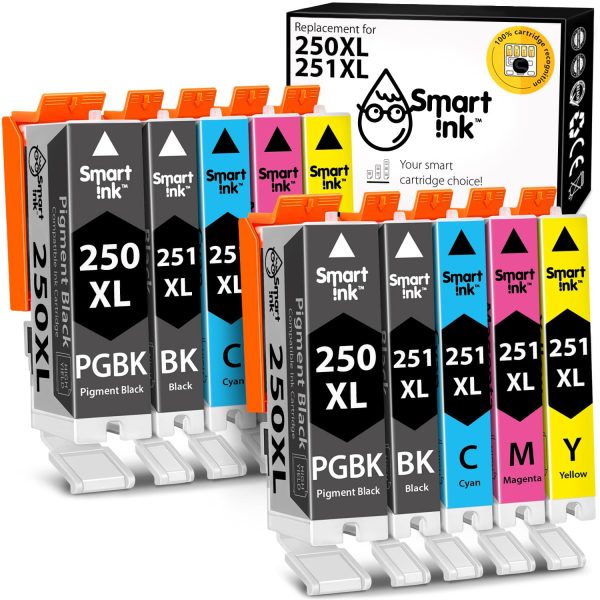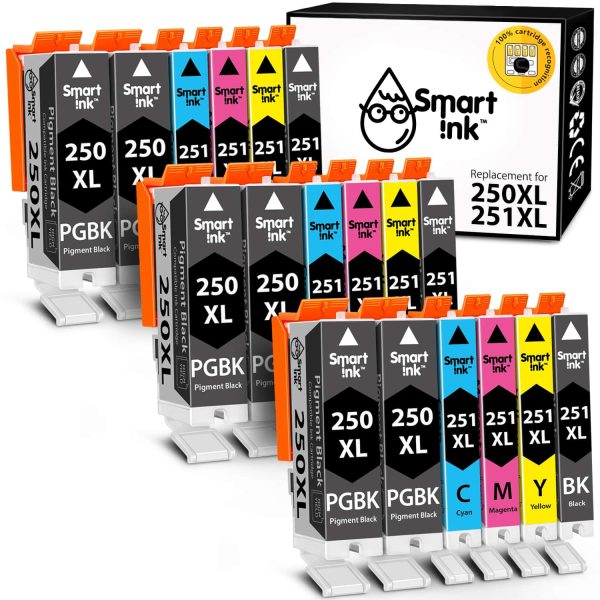
Smart Ink compatible ink cartridges for your Canon Pixma MG5422 printer:
- GREAT SAVINGS! Save up to CDN$ 270 per purchase compared to original cartridges.
- PLUG & PRINT! Installs perfectly in your Canon Pixma MG5422 printer.
- 2-YEAR MONEY-BACK GUARANTEE! It’s a no-risk purchase.
- HIGHLY RECOMMENDED BY CUSTOMERS! ⭐️⭐️⭐️⭐️⭐️
Smart Ink offers high-quality replacement cartridges for your Canon Pixma MG5422 printers with a 2-year warranty and 24/7 customer support.
Using our Smart Ink compatible cartridges in your Canon Pixma MG5422 printer does not void the printer’s warranty.
INK CARTRIDGES THAT WORK PERFECTLY WITH THE CANON PIXMA MG5422
How to install compatible ink cartridges in the Canon Pixma MG5422
What you need to know before the installation:

- Do not touch the chip or the ink port, which can result in clogs, ink failure and poor electrical connections.
- Avoid mixing cartridges from different suppliers simultaneously – the printer may not recognize them properly.
- If the printer has not been used for a long period of time, we recommend running the printhead cleaning cycle up to 3 times to remove ink residue (refer to the printer manual).
- The Smart Ink team strongly recommends using only high-quality ink from one producer to extend printer life.
How to install:

- Turn on the printer and open the cartridge access door. wait until the carriage stops moving before you continue. This should take only a few seconds.
- Hold the ink cartridge upside down for 1-2 minutes. Then remove orange protective cap carefully.
- Match the label color with the color on the carriage. Then install the cartridge into the corresponding slot.
- If the ink LED does not light up, remove the indicated cartridge from the carriage. Gently bend the tab away from the cartridge, and reinsert it into the carriage.
Note: if you encounter any issues with one or more cartridges after installation, refer to the FAQ.


