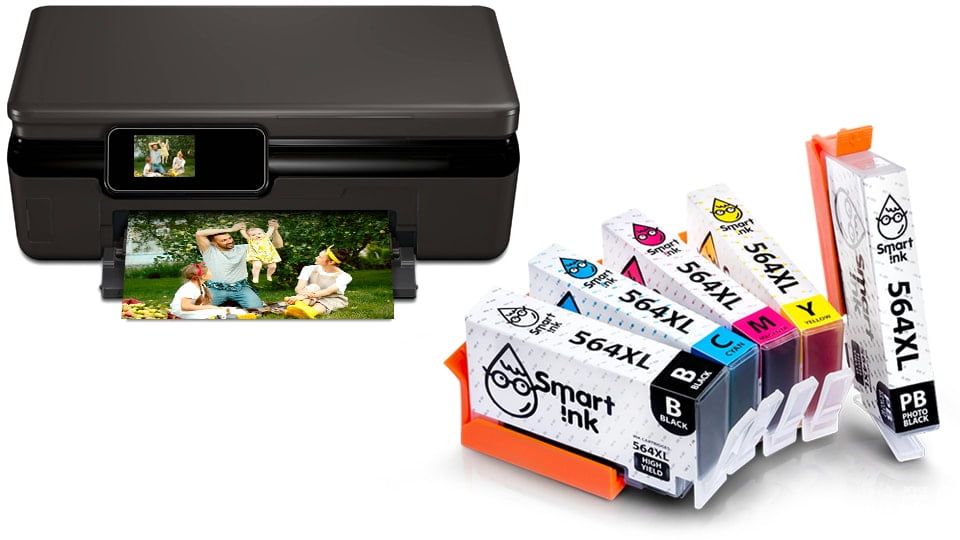
Smart Ink compatible ink cartridges for your HP Photosmart 7515:
The HP Photosmart 7515 makes your printing routine faster and easier. It comes with a universal 125-sheet auto document feeder and a large LCD control panel that helps get your printing tasks done unguarded and really fast.
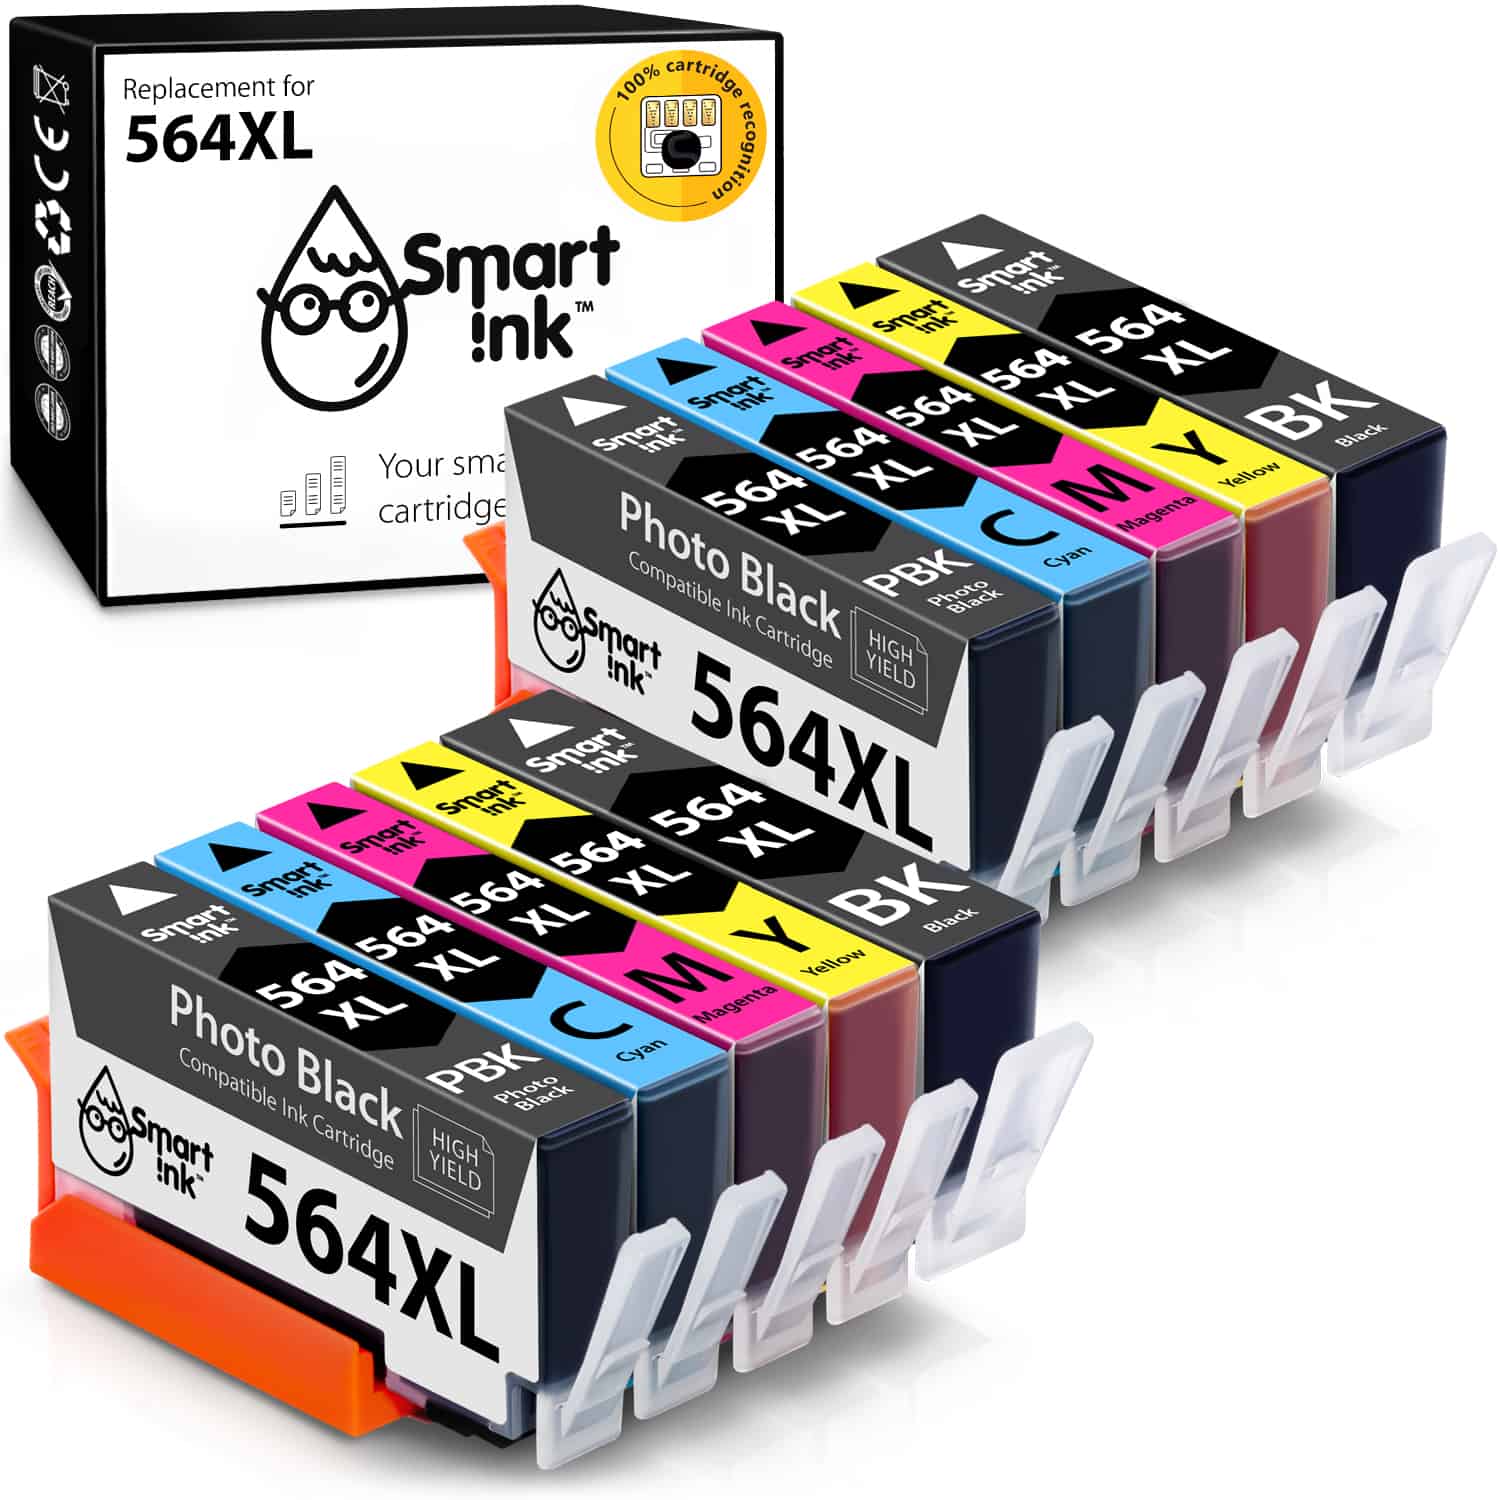
Here at Smart Ink, we offer you Smart Ink Cartridge Replacement for HP 564 XL (10 pack with Photo Black), which offers a 550-page yield for the black cartridge, and 750 pages per each cartridge.
Buy here now 2 combo sets and get 10% off + free shipping!
- GREAT SAVINGS! Save up to CDN$ 270 per purchase compared to original cartridges.
- PLUG & PRINT! Installs perfectly in your HP Photosmart 7515.
- 2-YEAR MONEY-BACK GUARANTEE! It’s a no-risk purchase.
- HIGHLY RECOMMENDED BY CUSTOMERS! ⭐️⭐️⭐️⭐️⭐️
Smart Ink offers high-quality replacement cartridges for your HP Photosmart 7515 printers with a 2-year warranty and 24/7 customer support.
Using our Smart Ink compatible cartridges in your Photosmart 7515 printer does not void the printer’s warranty.
INK CARTRIDGES THAT WORK PERFECTLY WITH THE HP Photosmart 7515
-
Compatible HP 564 Ink Cartridge Replacement (10 pack with Photo Black), Smart Ink
Original price was: CDN$ 39.99.CDN$ 31.49Current price is: CDN$ 31.49.
How to install compatible ink cartridges in the HP Photosmart 7515
What you need to know before the installation:

- Do not touch the chip or the ink port, which can result in clogs, ink failure and poor electrical connections.
- Avoid mixing cartridges from different suppliers simultaneously – the printer may not recognize them properly.
- If the HP Photosmart 7515 has not been used for a long period of time, we recommend running the printhead cleaning cycle up to 3 times to remove ink residue (refer to the printer manual).
- The Smart Ink team strongly recommends using only high-quality ink from one producer to extend HP Photosmart 7515 printers’ life.

- Turn on your HP Photosmart 7515 and open the cartridge access door. Wait until the carriage stops moving before you continue. This should take only a few seconds.
- Hold the ink cartridge for HP Photosmart 7515 upside down for 1-2 minutes. Then remove orange protective cap carefully.
- Match the label color with the color on the carriage. Then install the cartridge into the corresponding slot.
- If the ink cartridge does not seat properly, remove it from the carriage. Gently bend the tab away from the cartridge, and reinsert it into the carriage.

