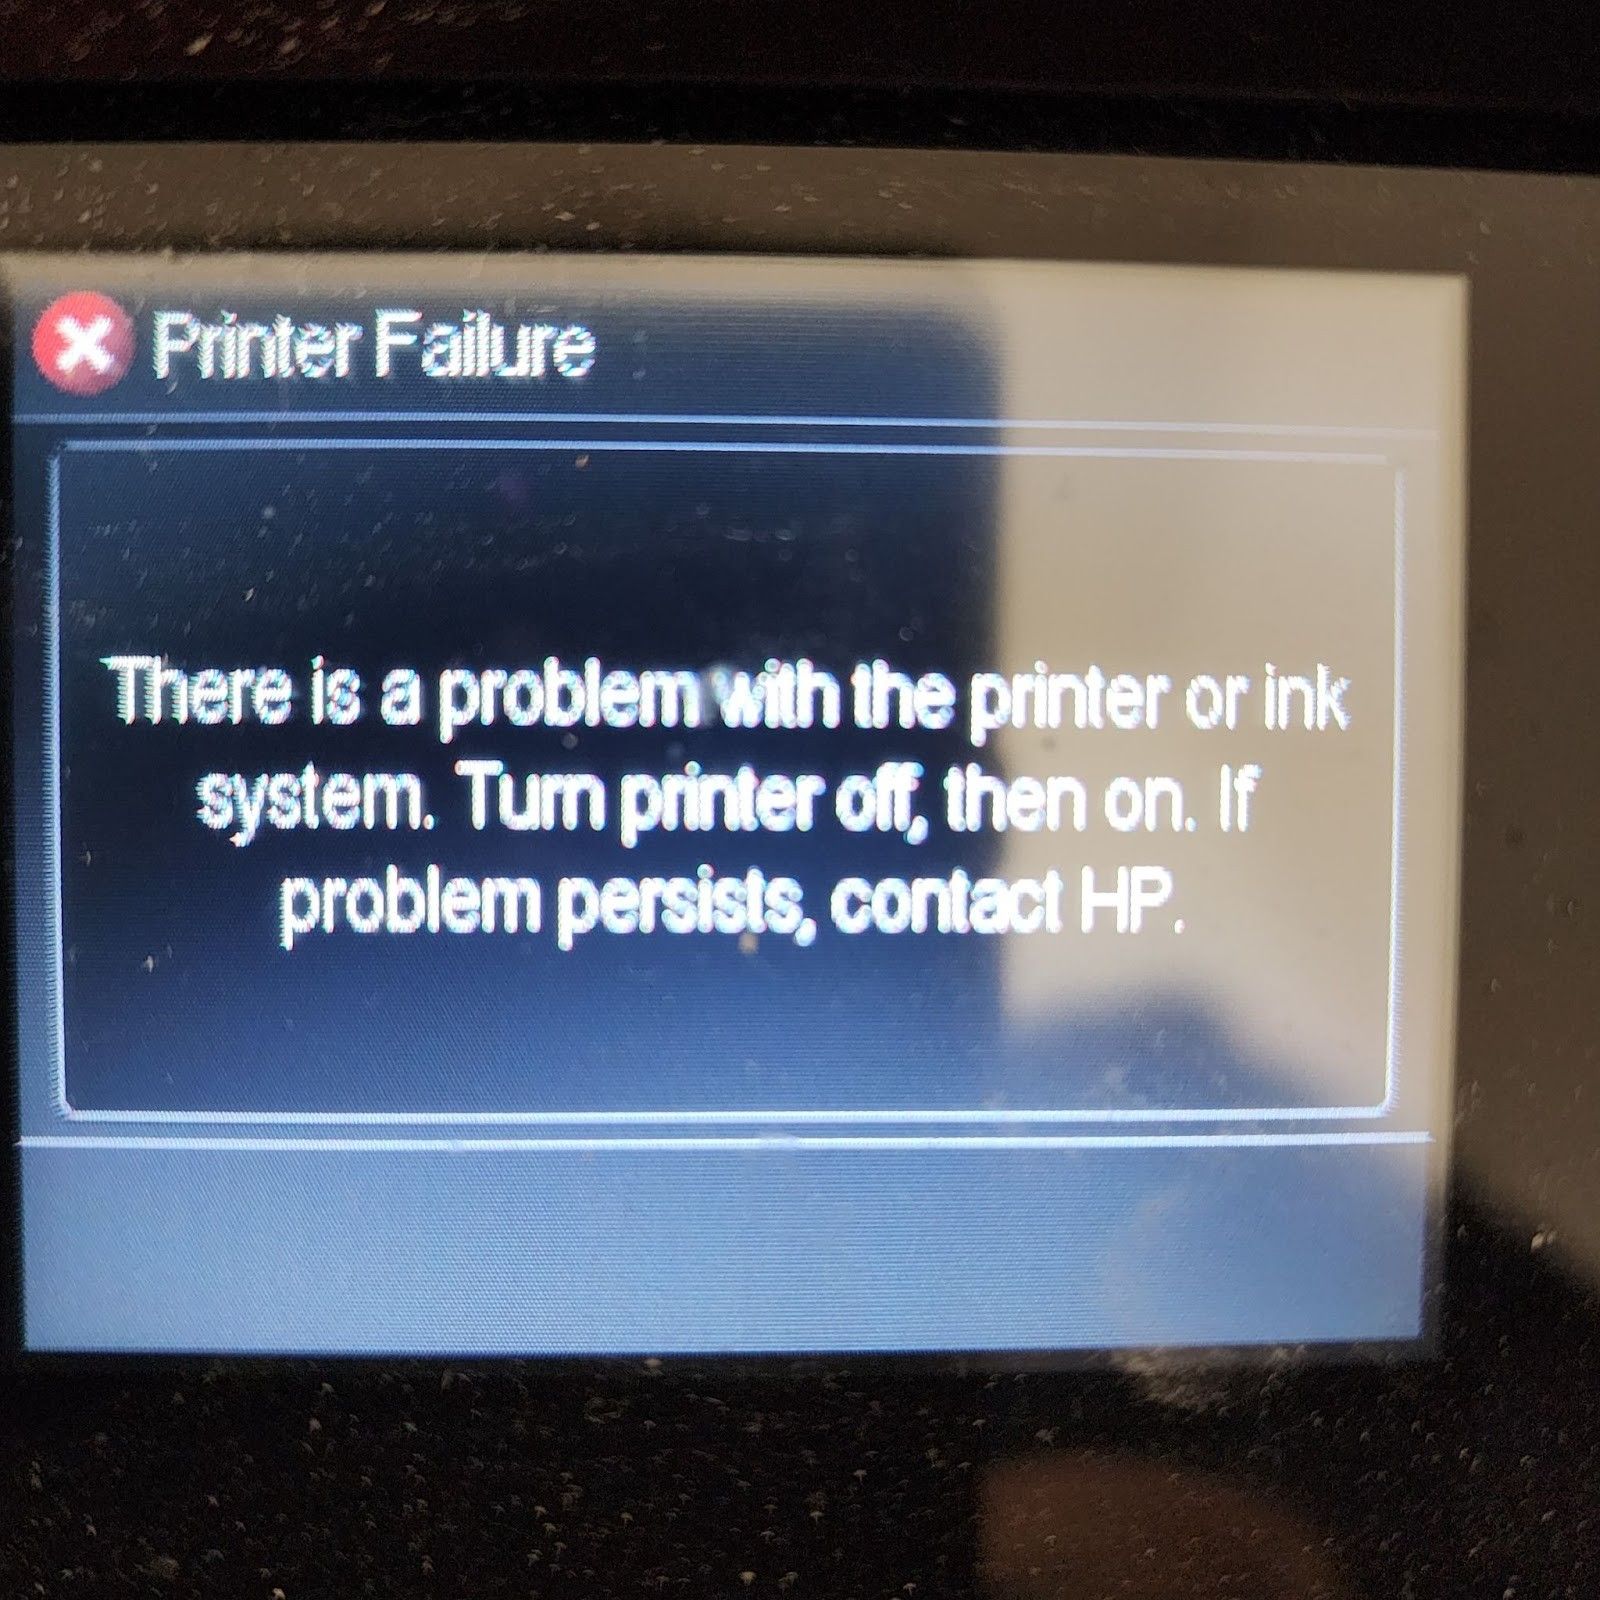
Encountering a “Printer Failure” error on your HP OfficeJet printer can halt your printing tasks immediately. This error message suggests a problem with the printer or ink system and is common across almost all HP OfficeJet models.
Here’s a step-by-step guide to fix this issue and get your printer back in action:
NOTE
Please Check Cartridge Compatibility:
Confirm the new cartridge is compatible with your printer model. Using an incompatible cartridge can lead to errors. Double-check the cartridge model number against the printer’s specifications.
Step 1: Clearing Obstructions from the Carriage Path
Before delving into ink cartridge maintenance, ensure no obstructions in the carriage path could cause the printer failure error.
Ensure the printer is on.
Disconnect the power cord from the back of the printer.
Open the carriage access door and inspect for debris, removing any you find.
Check the carriage’s freedom of movement; it should move to both sides without hindrance.
Close the door and reconnect the power cord.
Turn on the printer. If the error persists, move on to the next step.
Step 2: Cleaning and Reinstall the Ink Cartridges
Often, issues with ink cartridges can trigger error messages. Follow these steps to ensure your cartridges are clean and correctly installed.
Power on your printer and open the cartridge access door.
Remove each ink cartridge. Inspect them for any signs of damage or debris.
Gently clean the contacts on the cartridges using a soft, lint-free cloth. Be careful not to touch the ink nozzles.
Reinstall the cartridges, making sure each one clicks into place.
After reinstalling each cartridge, check the printer’s control panel to see if the error message has disappeared.
If the error clears after a specific cartridge is reinstalled, that cartridge may have been the cause. If the error persists, proceed with the next step.
Step 3: Resetting the Printer
A reset might be necessary if the error is still showing after checking for obstructions and ensuring the ink cartridges are clean and correctly installed.
Keep the printer turned on during this process.
Unplug the power cord from the printer and the wall outlet.
Wait 60 seconds. This pause is critical for a complete reset.
Reconnect the power cord to the printer and a wall outlet (avoiding power strips or surge protectors).
Turn on the printer and attempt a test print.
By following these steps, you should be able to overcome the “Printer Failure” error. If these steps do not resolve the issue, please get back to Smart Ink customer service for additional help.