How to Change Ink in HP Printer?
Knowing how to change cartridges is essential when owning a printer, so we prepared a guide on how to install HP 61 ink cartridge or any other model. We’ll start from the beginning and go through each step to make your printing experience more comfortable. In case you have any questions after the guide, contact Smart Ink customer care service, and we will be happy to go into more detail.
What Ink Do I Need for My HP Printer?
First of all, you should check your printer model and which cartridges it uses. It may be toner or inkjet, but you should know the exact type as they are not interchangeable. After that, buy a new pack, for example, at Smart Ink. There you can find optimal HP alternatives that are 100% compatible with your machine and don’t cost as much as original cartridges.
How to Install Ink Cartridge in HP Printer
Now, when you have a suitable pack of HP cartridges, it’s time to learn how to install ink in HP printer. Just go step-by-step through our convenient guide below.
Stage 1
- Switch on your printer, before replacing any cartridge or opening the covers.
- Get inside the printer by opening its cover. That way, you’ll be able to access the space with printer cartridges. Take a look into the printer’s manual if you don’t know how to access the cartridges.
Stage 2
Depending on the model of the cartridge, there is a slight difference in how to install HP ink cartridge. Choose the one that suits your case.
If you have HP 61 cartridges or similar printhead models:
- Remove the new cartridge from its individual packaging and take off the case that protects the cartridge.
- Before inserting new cartridges, make sure you emptied the slots from the previous ones.
- Install the cartridge by following the color pattern and pushing it onto the matching slot.
- Go through the same process with other cartridges.
If you have HP 902 cartridges or similar on-structure inkjet models:
- Hold cartridges upside down for 60–120 seconds. Then you can open their individual packaging and take off the cartridge.
- Separate the cap colored orange from the cartridge.
- Examine the cartridge and find the socket that has the matching pattern as on the cartridge’s case.
- Place the cartridge into the position and repeat the procedure with the whole pack.

If you have HP 952 cartridges or similar on-structure inkjet models:
- Find the yellow tape and remove it from the cartridges.
- Make sure the seals that cover the ink port are intact.
- Compare markings on cartridges and slots inside the print and match them with one another.
- Install cartridges one by one into their slots.
If you have HP 972 cartridges or similar on-structure laserjet models:
- Take off the yellow-colored tape from the cover of the cartridges.
- Keep the seal that protects the ink port from damage.
- Find the matching pattern between cartridges and printer slots.
- Install the cartridge into the slot by putting them parallel to the color marker on your printer. Proceed with others until the whole pack is inside.
Stage 3
- When the replacement is done, you can close your printer and start printing right away.
- As the printer is turned on, it should immediately recognize your cartridges. Smart Ink enhances its cartridges with smart recognition chips, so there are no extra steps after installing the cartridges.
Attention:
- If there are empty cartridges in the slots, just press on them to remove them from the printer.
- Any interference with the ports, the chip, and the optical sensor may damage cartridges. Avoid touching them.
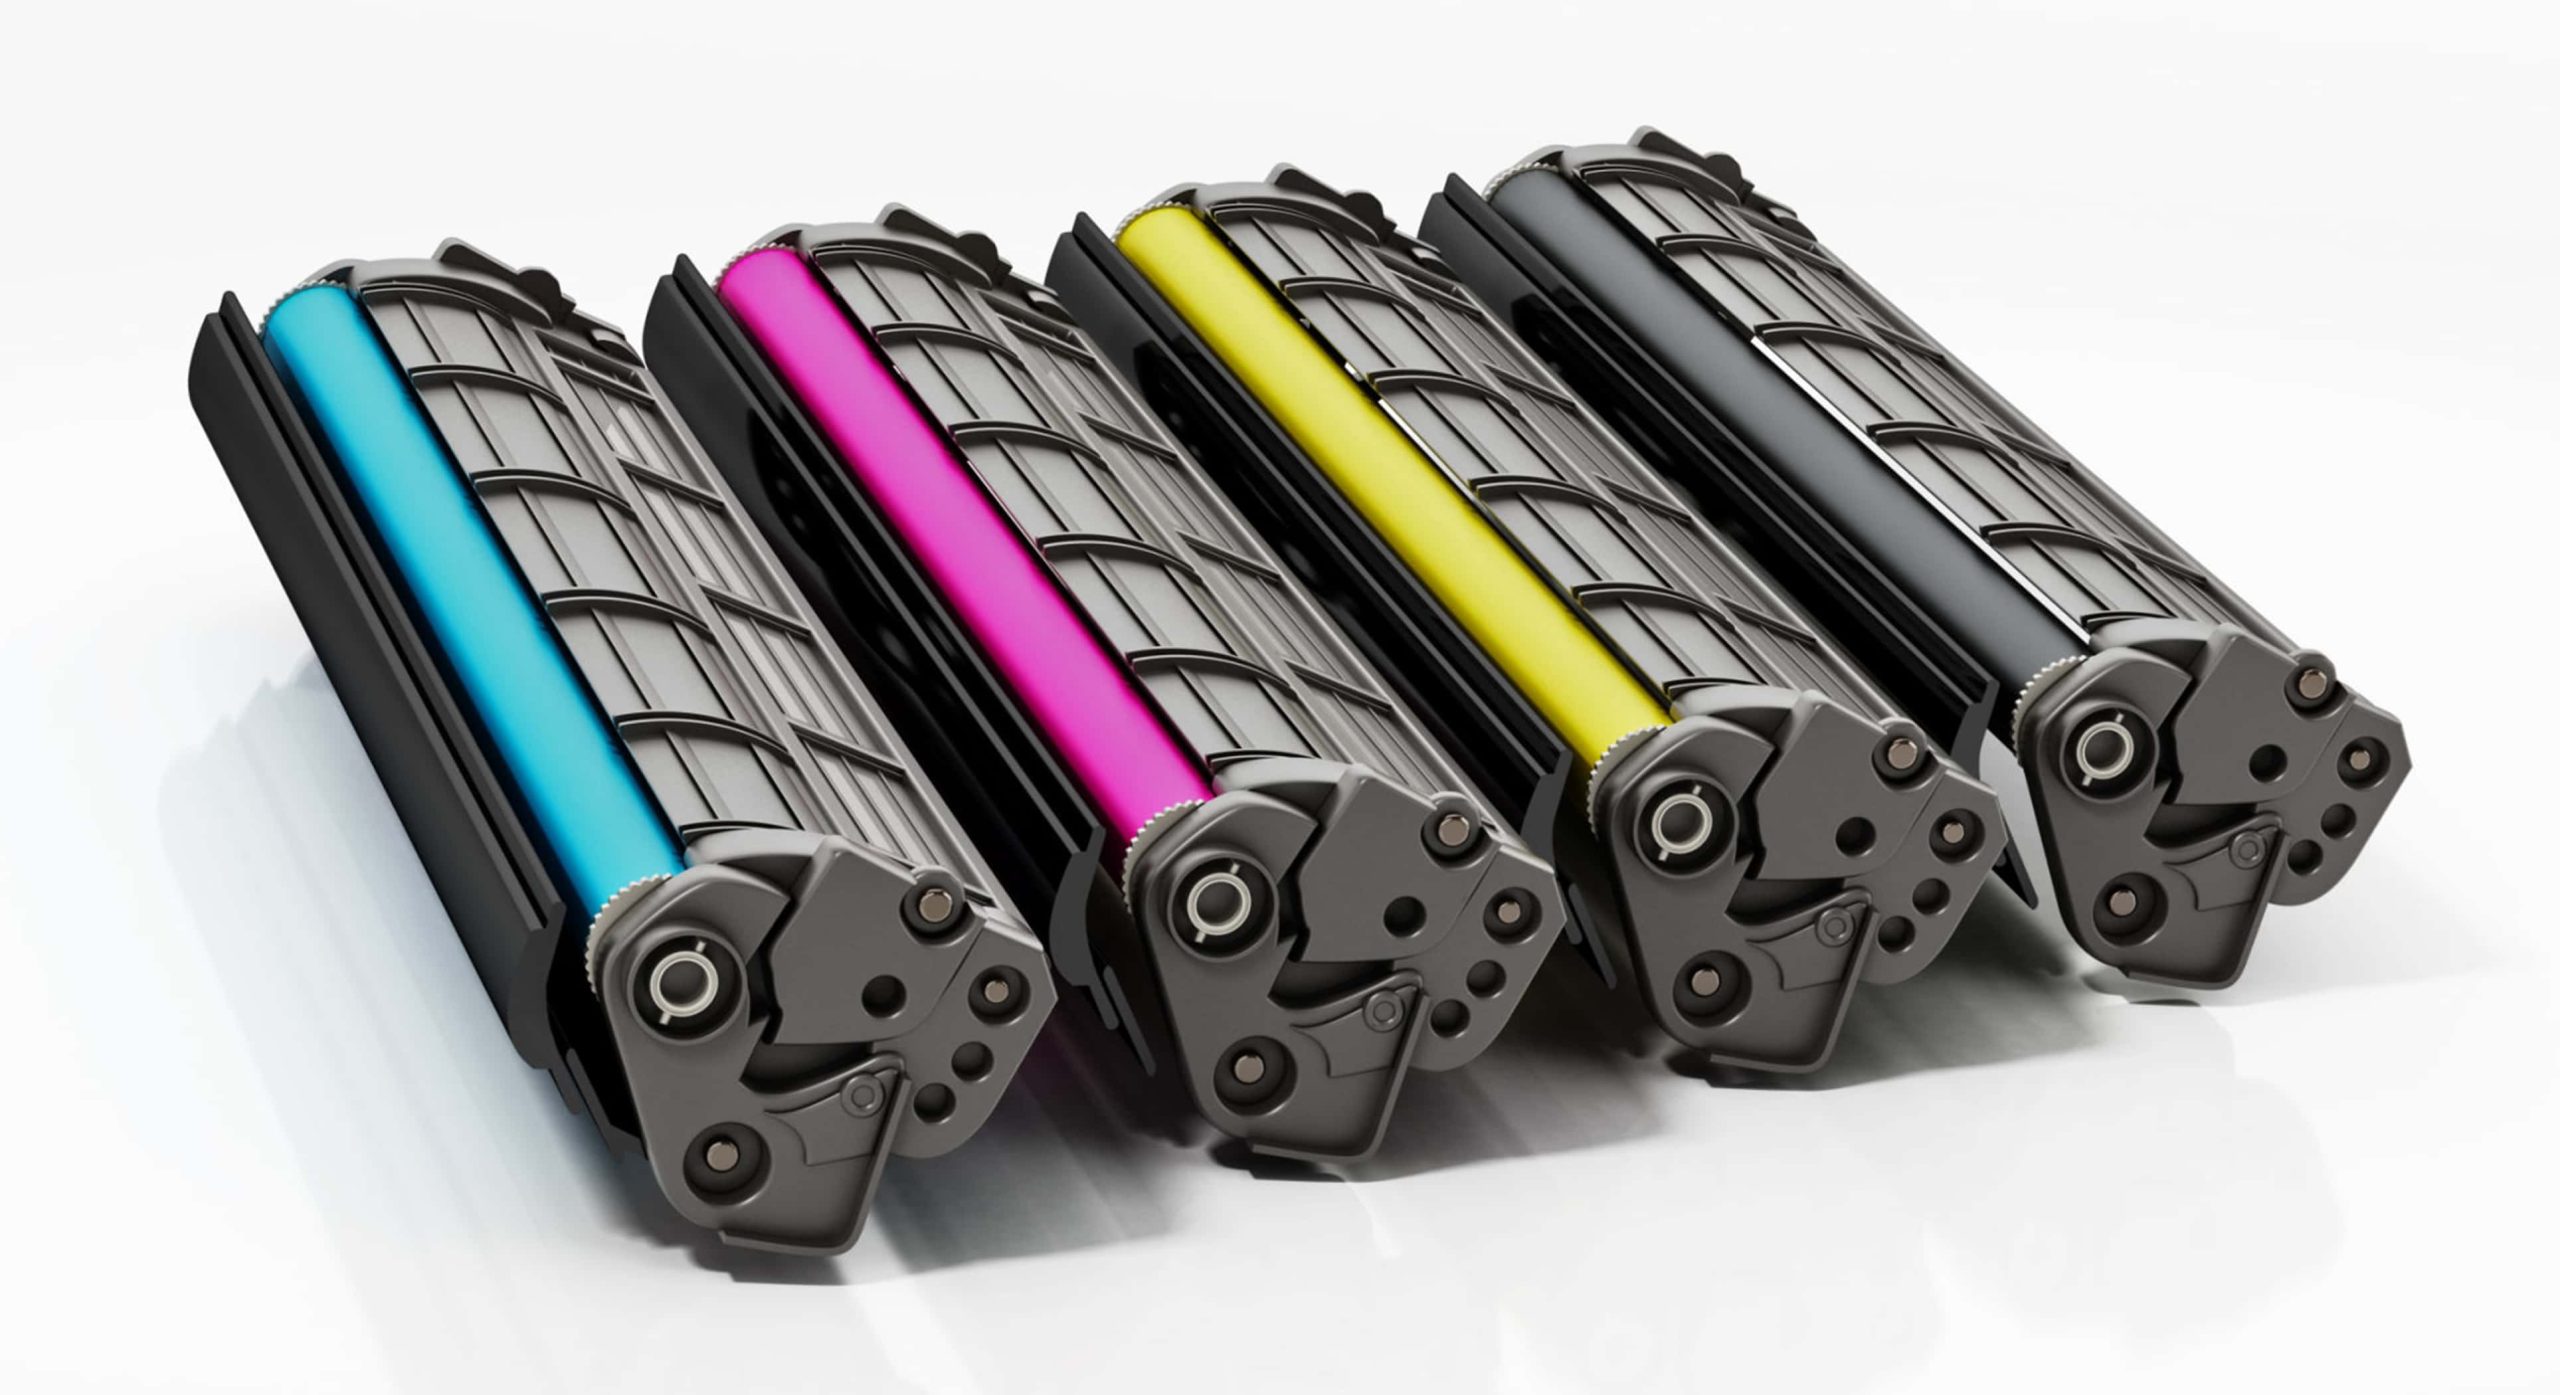
How to Replace a Toner Cartridge in Your HP Laser Printer
At Smart Ink, the toner cartridges for HP printers come with integrated drum units, which means this process is as simple as changing an ink cartridge. It can be done easily by following our instructions, consulting Smart Ink specialists, or checking the HP guide for installing toners. This guide suits 414, 58, and 206 cartridges for HP laser printers.
- Open the printer to reach slots for toner cartridges.
- Take off the caps (or protective paper if there is one) that protect the cartridge.
- Remove the tape that shields from the cartridge by pulling off the yellow-colored tab.
- Find the slot that matches the pattern on the cartridge.
- Turn the cartridge at a slight angle and firmly push it into the slot.
- Close the access door and cover when you finish replacing the cartridges.
Important:
- If the printer can’t detect your cartridge, ensure you correctly installed the cartridge. You can also contact Smart Ink customer care, and we will try to resolve the issue. In the worst-case scenario, you have your 2-year warranty and 30-day return policy.
At Smart Ink, you can find various articles and videos dedicated to making your printing life smarter and easier. From tips and tricks to similar guides as you’ve read right now. However, foremost, we provide customers with remanufactured and compatible alternatives for OEM cartridges. So, whether you have a Canon, Epson, or HP printer, we highly suggest checking out our line of high-quality products and minimizing unnecessary expenses on printing materials.