Smart Ink remanufactured ink cartridges for your Epson Expression Home XP-440 printer:
- GREAT SAVINGS! Save up to $200 per purchase compared to original cartridges.
- PLUG & PRINT! Installs perfectly in your Epson Expression Home XP-440 printer.
- 2-YEAR MONEY-BACK GUARANTEE! It’s a no-risk purchase.
- HIGHLY RECOMMENDED BY CUSTOMERS! ⭐️⭐️⭐️⭐️⭐️
Smart Ink offers high-quality replacement cartridges for your Epson Expression Home XP-440 printers with a 2-year warranty and 24/7 customer support.
Using our Smart Ink remanufactured cartridges in your Epson Expression Home XP-440 printer does not void the printer’s warranty.
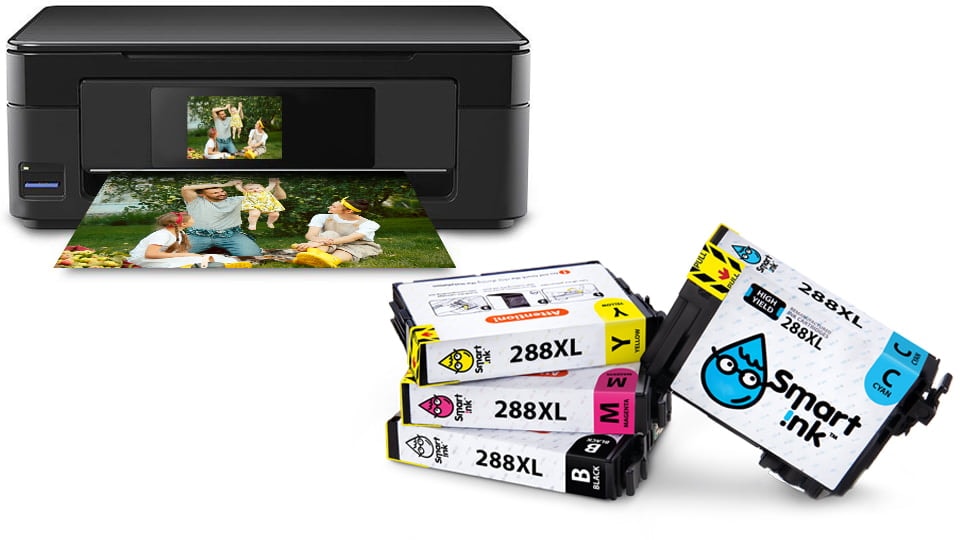
INK CARTRIDGES THAT WORK PERFECTLY WITH THE Epson Expression Home XP-440
-
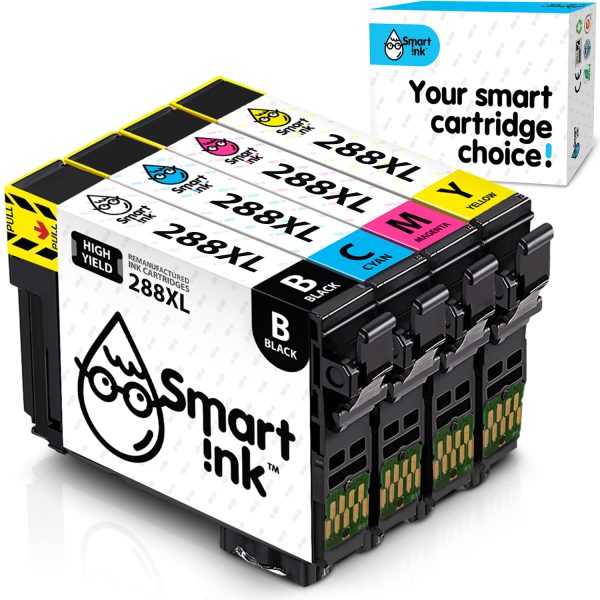
Remanufactured Epson T288 XL (4 pack), Smart Ink
Original price was: $44.99.$29.99Current price is: $29.99.
How to install remanufactured ink cartridges in the Epson Expression Home XP-440
What you need to know before the installation:

- Do not touch the chip during the installation, as this can lead to poor connection and non-recognition issues.
- Do not remove the protective seal covering the ink port.
- Avoid mixing cartridges from different suppliers simultaneously – the printer may not recognize them properly.
- The Smart Ink team strongly recommends using only high-quality ink from one producer to extend printer life.
How to install:
Note:
- If your ink cartridge is empty, you will see a message on the LCD screen. Note which cartridges need to be replaced, then select “Proceed” and follow the instructions on the screen.
- If no message appears on the LCD screen, select “Setup” > “Maintenance” > “Ink Cartridge Replacement”.

- A Gently shake the new cartridge 4-5 times before opening.
B Then remove the yellow tape. - Install the cartridge into the corresponding slot and push it down until it clicks into place.
- Close the scanner unit and wait for 2-3 minutes while the printer is priming the ink. The message on the LCD screen will notify you when priming is complete. Attention: Do not turn off the printer during this process or you will waste ink.
- If you see a message saying the cartridge is incorrectly installed, remove and reinstall the indicated cartridge. Make sure it clicks into place, then close the scanner unit and press the OK button.